How Does Laser Etching Work: Laser etching uses a focused beam to change the surface of a material, leaving a lasting mark.
You control power, speed, and path to melt or rearrange tiny surface layers.
Different metals react differently, so aluminum etches easy while shiny metals may need prep.
Set up safety gear, vent fumes, and test on scrap pieces before your final try.
If you tune speed and spacing just right, you’ll get cleaner marks and more to try.
What Is Laser Etching? Key Concepts and How It Works

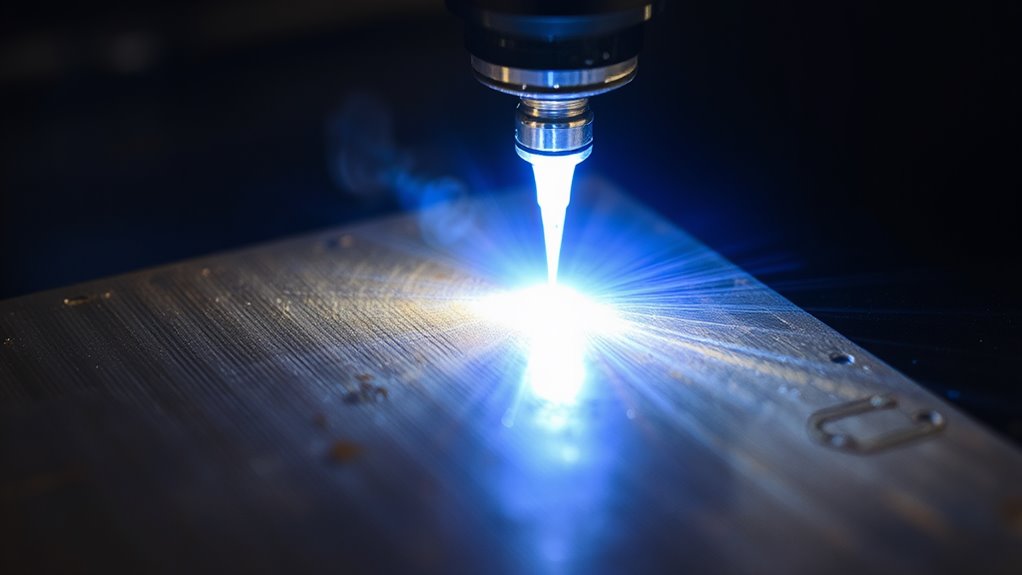
Laser etching is a way to stamp designs onto a surface using a focused light beam that alters the top layer. The laser typically changes only the surface, leaving much of the material underneath intact. The way metals respond can vary with alloy type and finishing, which can affect color changes and how clean the marks look. Thermal effects drive the process, melting or rearranging the top layer and then cooling into a lasting impression. Start with safe settings, test on scrap, and adjust speed, power, and spacing to achieve a crisp line. Treat beginners like friends, share tips, and celebrate small, bright successes together. Fiber lasers like the 1064 nm wavelength systems are particularly effective for metal etching due to their high absorption rates and precision, making 1064 nm laser a preferred choice for durable, high-contrast marks.
Design Considerations Before You Etch: Ideas, Constraints, and Path Planning
Before you start etching, gather ideas about what you want and where it should go, then test rough sketches on scrap material. You’ll map design complexity early, so you don’t overwork the machine or waste time. Keep goals simple at first and expand as you gain confidence. Think about artwork resolution now, not later, so the final mark stays crisp on wood or metal. Plan a few practice passes with low power to see how details hold up. Sketch clear borders, label sizes, and spacing, then run a quick test grid before committing to the whole piece. Have fun, stay curious.
Materials for Laser Etching: What Works Best and Why

Choosing the right material makes laser etching easier and more enjoyable, so start with surfaces that deliver strong contrast. You’ll learn which materials work best by checking their suitability and how their absorption rates affect color and depth. For example, aluminum etches well at 1064 nm due to favorable absorption, while wood develops char and color changes but does not melt. Metals with high reflectivity may require a pretreatment spray, and plastics vary widely, so test a small spot first. Keep notes, adjust speed and power, and enjoy the quick, satisfying results you can achieve on your next run. Diode lasers are effective for engraving materials like wood, leather, and coated metals, with 30W laser power enabling deeper cuts in thicker substrates.
Step-by-Step Laser Etching Guide: Setup, Run, and Inspect
- Set up the laser and tools, then calibrate for your material and design.
- Run the job with appropriate speed and spacing, while monitoring the path for safety and accuracy.
- After operation, inspect the mark, adjust settings if needed, and save a sample for future projects.
- Ensure proper ventilation with a fume extractor to safely manage emissions during engraving, especially when working with materials like acrylic or wood.
Setup and Calibration
When you gear up your laser etching setup, calibration becomes straightforward and enjoyable. In this setup phase, you’ll tighten mounts, connect cables, and warm up the machine. You’ll perform focus alignment by adjusting the lens until tiny test marks look sharp. Then run a power test with a simple square to see how it reacts. Keep notes, save settings, and keep the workspace clean. If you notice any glow or drift, adjust exposure a touch and recheck. Small changes make big differences. Use scrap material first, test patterns, and compare results with your notes. Soon you’ll feel confident and curious.
Run and Inspect Process
Now that setup is dialed in, you run the job and immediately inspect the marks. Look for clean edges and even shading as the beam follows your design. If something looks off, note it and prepare parameter adjustments.
Make small tweaks, run a test, then compare again until the mark stays consistent. Keep it friendly and patient, and you will see steady, repeatable results. This approach keeps the process fun and easy, so you stay motivated as you learn.
Tip: photograph each finished piece and keep notes for future jobs. This helps you predict color shifts and save reliable settings too. Stay curious, practice often, and your laser art will shine each day.
Benefits and Tradeoffs of Laser Etching
When weighing the costs and benefits of laser etching, balance price with precision. Speed and efficiency improve as you start with simple designs, such as labeling jars or tags. If you’re on a budget, choose a small laser and practice on cardboard before attempting metalwork.
Cost And Benefit Tradeoffs
Laser etching can save you money and time, but it has tradeoffs you should know. You get clear, durable marks, yet setup costs and learning curves matter. Here are the main pros and cons, shaped for beginners like you.
1) Initial investment is real but often pays off with long-term savings.
2) Material choices are flexible, so you can try on plastic, wood, and metal with less waste.
3) Speed is good for small jobs, not huge runs, so plan projects accordingly.
4) Maintenance stays affordable if you keep a routine, and upgrades add value. With practice, you’ll master it.
Speed And Efficiency
Because laser engraving marks parts quickly, you save time on many projects. Like any tool, you plan your pattern, set the power, and test a small sample first. When speed is the goal, pulse overlap matters, and careful planning helps avoid gaps or burns. You also consider beam travel, choosing paths that stay smooth and neat. For simple plastics or wood, you’ll get rapid proofs and fewer mistakes, which is satisfying. Keep things simple, stay patient, and measure results between tries. With practice, speed and quality improve together, and your hobby shines. Every session feels rewarding too.
Troubleshooting Laser Etching: Common Issues and Fixes
Sometimes you’ll run into marks that pop or fade, and that’s totally fixable. When you troubleshoot, stay calm and don’t rush assignments. Burn marks often come from wrong power levels or too-fast passes, so you just adjust and test again. Check the material type in your settings, then run a small test patch. If spots stay pale, increase exposure gradually. If gouges appear, back off and slow down.
1) Check power levels and start with the lowest setting.
2) Test on scrap material to dial in speed.
3) Clean the lens and verify focus before each run.
4) Check duty cycle and cooling properly.
Optimizing for Results: Tips, Best Practices, and Next Steps
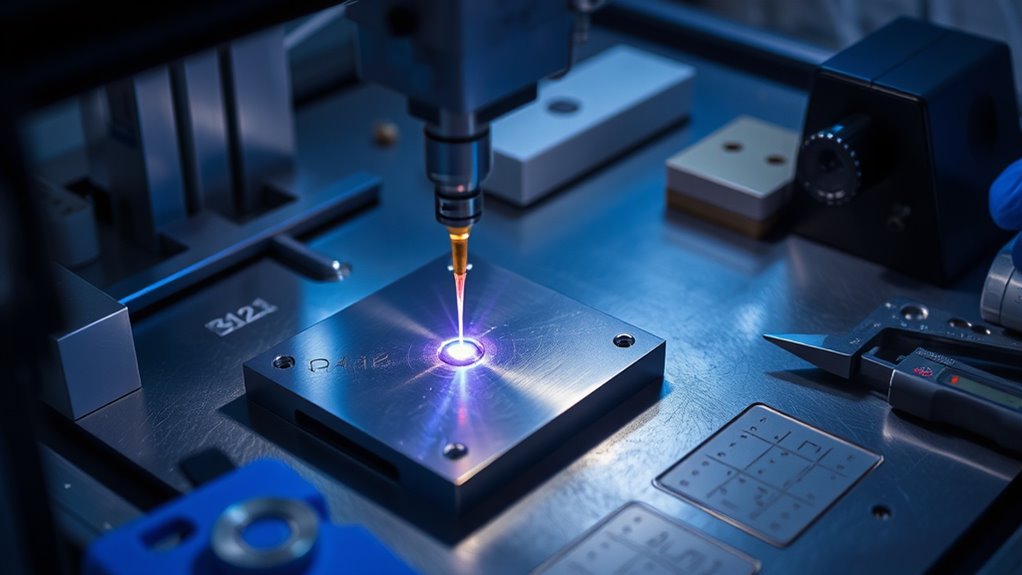
With the right setup, you can optimize results quickly and achieve consistent, clean laser-etched marks. Start with a simple test on scrap material to see how the surface reacts, then note the best settings. You can adjust power, speed, and spacing in small steps, and watch for changes in shade and depth. Do parameter tuning by recording how each change affects the mark, so you build a reliable recipe you can repeat. For material testing, try different finishes or coatings and compare results on the same material, keeping notes. Save your favorite combination for production runs, and recheck if batches vary, because weather or batch differences can matter. Have fun experimenting and improving steadily.
Frequently Asked Questions
How Long Does Laser Etching Take per Part?
It varies, but most parts take seconds to minutes to process, depending on material density, etching depth, and pattern complexity. You can boost throughput by adjusting pulse frequency and spacing, and by batching multiple parts.
Is Laser Etching Safe for Skin or Eyes?
Laser etching can pose burn and eye injury risks and is not safe for skin or eyes. Exposure could cause burns or eye damage. Always wear appropriate protective gear, enclose the beam, and follow the manufacturer’s safety procedures to prevent injuries.
Can Laser Etching Mark Curved or Irregular Surfaces?
Yes, you can laser etch curved or irregular surfaces. Use rotary fixtures and flexible heads to maintain focus and orientation, adapting path planning accordingly for consistent marks across contours. This approach handles varied geometries reliably.
What Maintenance Does a Laser Etcher Require?
You should perform maintenance including:
- Lens cleaning and optic checks
- Verify optical and mechanical alignment
- Inspect the power supply for stability
- Replace worn seals
- Purge dust from enclosures and vents
- Run calibration and test patterns
- Lubricate moving parts as specified by the manufacturer
- Keep the cooling system clean and serviced
Can Etched Marks Be Removed or Reversed Later?
Yes, etched marks can sometimes be removed or reversed, depending on the material and how deep the marks are. Polishing or refinishing can restore the surface, but some marks may be permanent. In those cases, coatings or resurfacing may be used to conceal them.
Conclusion
Laser etching is easier than it sounds, and you can start with simple projects at home. You’ll learn by testing speeds, spacing, and patterns, then watch cool marks appear on aluminum or wood. Keep safety gear handy, use fume extraction, and double-check settings before you run a test. Don’t worry if a line looks off; adjust the focus and try again. Celebrate small wins, share tips with friends, and enjoy making unique, personalized items today.